

In this tutorial, we will learn how to use the Maroto package to create a PDF. From invoices to certificates, being able to generate a PDF from app data is a pretty handy feature. In this tutorial, we will use the Maroto package to build and save a product list. We will also learn how we can use the GoFakeIt package to generate some random dummy data that we can use in our PDF.
Prerequisites
To follow along, you will need to have Go installed. We are using version 1.16.2 for this tutorial.
The packages
Maroto
The Maroto package is described as being bootstrap-inspired, but you don’t need to know Bootstrap to use it. However if you have used Bootstrap before, the approach Maroto takes will feel familiar to you. A document is built using rows, columns and components. The package gives us the ability to include features such as:
- images
- signatures
- Barcodes, and
- QR Codes
GoFakeIt
Using mock data is a great way to speed up the prototyping process. We will use the GoFakeIt package to create a little dummy data generator to insert into our PDF.
We will see how to install these in the Getting Started section.
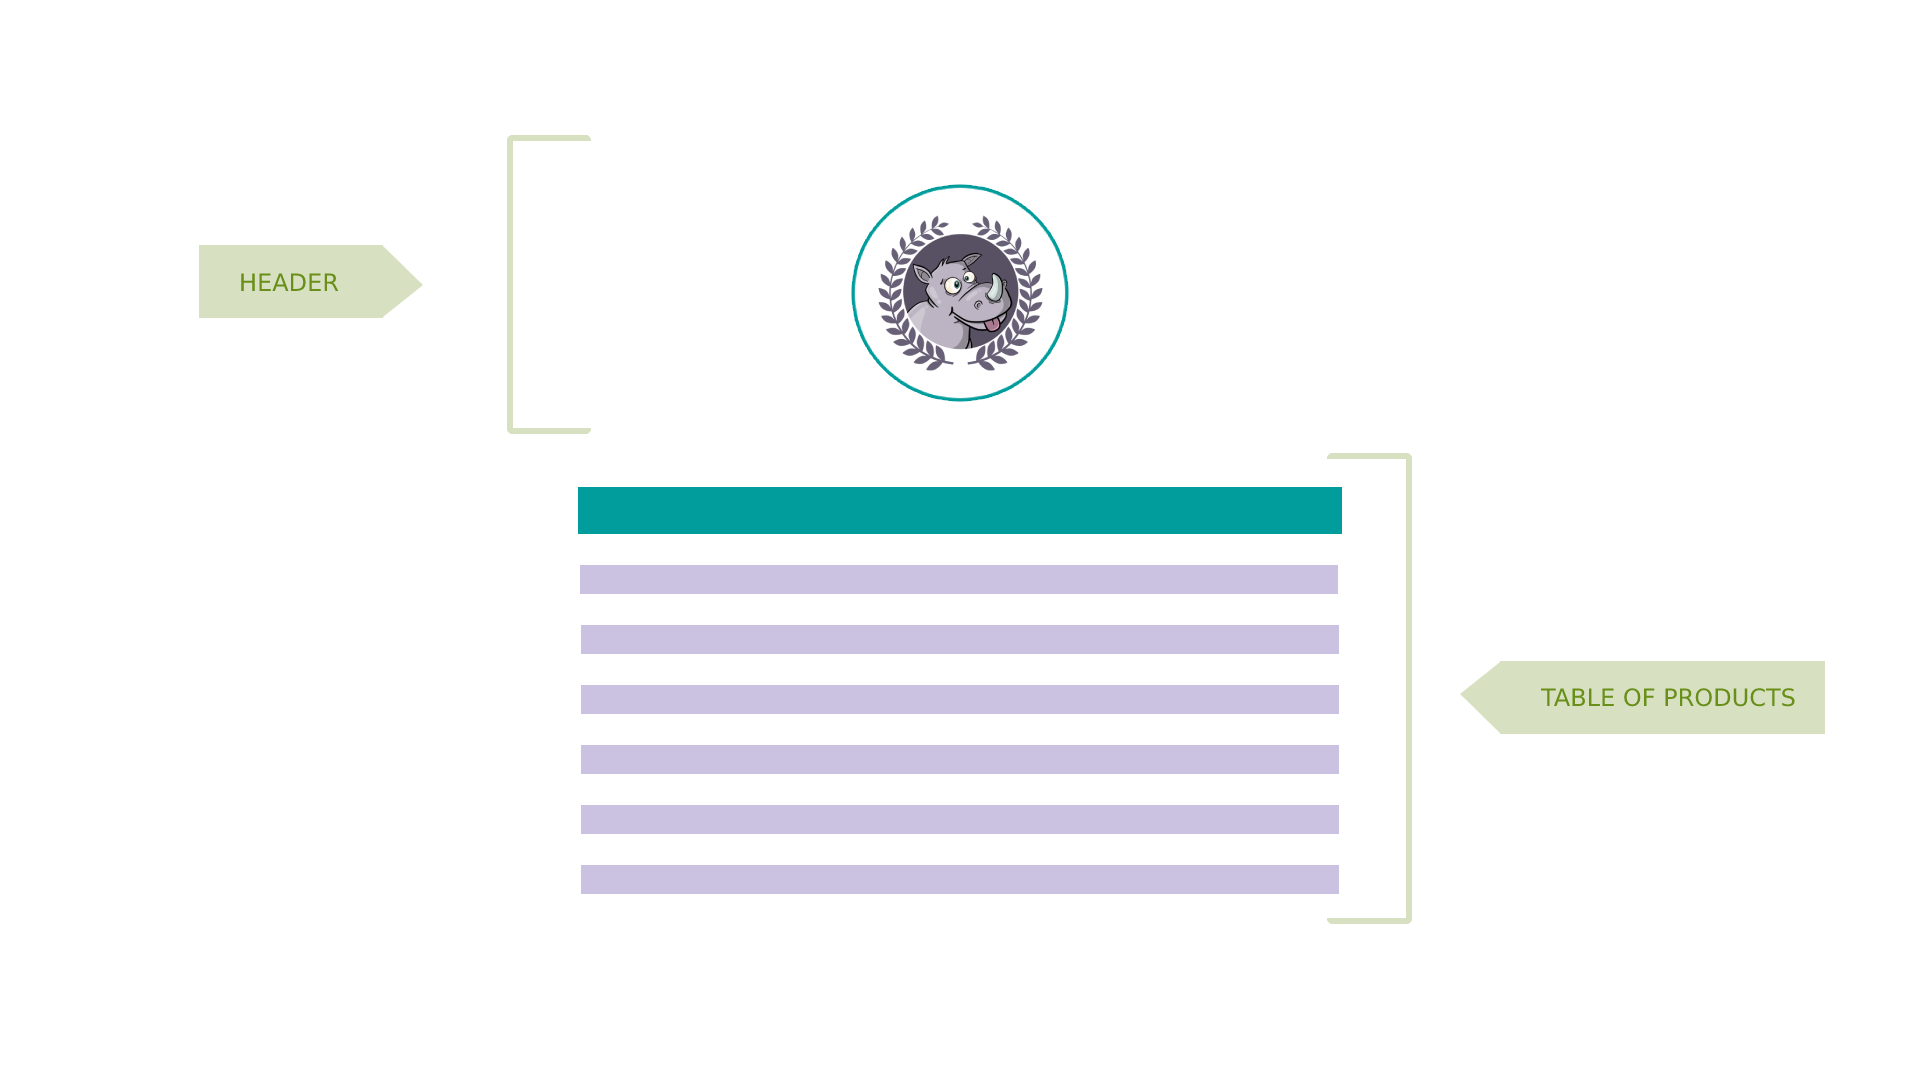
Wireframe of what we’re building
We will be creating an product list for an imaginary fruit shop called “Div Rhino Fruit”. The document will have a header and a table of products.
Getting started
Now that we’ve covered the basic background information, we can start setting up our project.
Inside our Sites directory, we can make a new folder which we will call fruitful-pdf, and we will change into it
| |
We will be using go modules to manage our dependencies.
It is a good idea to name your project using the URL where it can be downloaded, so I’m going to use my Github repo URL as the name of my package. Please feel free to substitute the following command with your own Github account or personal website
| |
After the command runs successfully, you should see a go.mod file in your project directory.
Next we will install the Maroto package. This tutorial will be using version v0.31.0. If you’re using an older version of the Maroto package, certain properties such as text colours may not be available.
| |
We will also need to install the GoFakeIt package for our mock data generator. We will be using version v6.2.2 for this tutorial. You can install it with the following command:
| |
After installing these packages, you should see a go.sum file has been created in your project folder. This can be thought of as a lock file. It is used to verify that the checksum of dependencies have not changed.
Those are the only third-party packages we need. We are now ready to start creating our PDF structure.
Skeleton PDF
Like with most Go projects, we can go ahead and create a main.go file at the root of our project directory.
| |
Inside our main.go file, let’s import all our necessary Maroto sub-packages. Each package provides us with useful functions that will allow us to use things like colours, images, fonts and components.
| |
Now, inside the body of our func main(), we can create a new maroto using the pdf sub-package. The NewMaroto() method creates a new maroto instance and returns a pointer to pdf.Maroto. It also expects two arguments: (i) orientation, and (ii) paper size. We can get these values from the consts sub-package:
| |
We also want to give our PDF document some margins so the content isn’t falling off the sides. We can do this by using the SetPageMargins method, which takes 3 values: (i) a left, (ii) a top, and (iii) a right margin value.
| |
Our content isn’t ready yet, but we can go ahead and save an empty file for now using the OutputFileAndClose() method. Let’s tell it that we want to save the output as div_rhino_fruit.pdf, in a folder called pdfs.
| |
The OutputFileAndClose() method returns an error, so let’s do some quick error handling before we move on. If, for some reason, we’re unable to output a PDF file, the program immediately aborts, because its only purpose is to create this PDF file.
| |
We’ll have to remember to create the pdfs folder too.
| |
And just so we know something is actually happening, let’s print out a little message every time we run our code:
| |
If we run our program now, we’ll get an empty PDF file saved to our pdfs folder
| |
Building the header
An empty PDF file isn’t all that interesting, so let’s add some content, starting with a header. Our header will hold an image of the “Div Rhino Fruit” logo.
We don’t want to put everything in our func main(), so let’s create a new function to build our header. We will pass in our previously-created instance of pdf.Maroto as an argument. This function will perform some transformations on the pdf.Maroto instance (i.e. m), and we won’t be returning any values.
| |
The Maroto package gives us a method that lets us register a header “component” that will appear on every page of our PDF document. This RegisterHeader() method accepts an anonymous callback function as the only argument. This anonymous function can be thought of as a header container.
| |
Within the body of the “header container”, we can set up a row that contains a column. Much like the Bootstrap grid system, rows are wrappers for columns. Here we’ve given our row a height of 50 and we’ve indicated that we want a full-width column that takes up 12 spaces. The number 12 is significant because most grid systems use 12 columns.
| |
We have a logo that was created beforehand and we’ve named it logo_div_rhino.jpg. To keep things organised, let’s make a new images directory to hold images we use in this project. Feel free to use your own logo image instead.
| |
Inside our full-width column, we can set up an image component to display our “Div Rhino Fruit” logo. We will centralise it and tell it to take up 75% of the height of the cell.
| |
The FileImage() method returns an error, so let’s do some quick error handling before we move on. If the image cannot be loaded, we print a message in the console to let the user know.
| |
Next we want to create another row and full-width column to add some descriptive Text — “Prepared for you by the Div Rhino Fruit Company”.
We want to use a custom colour here, so we will also want to make a new function func getDarkPurpleColor() and use the color sub-package that Maroto provides to create a dark purple colour.
| |
And that’s our header. Let’s call it inside out func main()
| |
We can run our code to generate a PDF file to see what this looks like:
| |
Lay out a table of products
We can build our table of fruit next. We first want to give the whole table a heading. We can create a new teal colour and set the background colour of the cell to this teal colour. Then, like we’ve done previously, we can add a row that contains a full-width column. We are giving the Text component properties such as top position, size, color, etc.
| |
At this point, if you’d like to see what this looks like, you can just generate a PDF and preview it:
| |
Along with content, our table should have column headings as well. Similar to the HTML table structure, we first want to create something that resembles a thead and tbody. We also want to set the cell colour of this section to white and set the background colour of alternate rows to a light purple. We will need to create a new light purple colour function.
We can use the TableList() component that Maroto provides to get a table. We want both the HeaderProps and the ContentProps to have 3 columns. We can do this by giving the GridSizes property a value of []uint{3, 7, 2} (a slice of unsigned integers with the values of 3, 7 and 2). These grid sizes add up to 12.
| |
Just some notes on the code, above:
- the
tableHeadingsif of typeslice of string - the contents are
a slice of slice of string. Another way of sayingslice of slice of stringis to saytwo-dimensional slice. This type will be important in the next section when we work on our mock data generator.
Let’s do a quick preview of our PDF again to see what we’ve just added so far
| |
Mock data generator
Okay, now let’s take a small detour out of our main.go file. So far we’ve used hardcoded content to inject into our table. We’re going to try something different and use some randomly-generated data instead. To achieve this, we will create our own custom data package and make use of the GoFakeIt package we installed, earlier.
In our project root, let’s make a new folder called data
| |
And within this new data folder, let’s create a new file called products.go
| |
Let’s head into our newly-created products.go file. This is going to be a new package on its own, so we can start by indicating that it’s part of package data instead of package main. Then we can import GoFakeIt.
| |
The GoFakeIt packages gives us all sorts of functions for concepts such as a File, a Person, a Number, among other things. We will be using Fruit in this tutorial.
We can represent the structure of each fruit item using a Fruit struct type. Each Fruit will have a Name, a Description and a Price. Each of these values will be randomly generated using GoFakeIt.
| |
Now that we have our Fruit struct type, we can create a function to make use of it. Every time the generateFruit() function is called, we get a new random fruit.
| |
Lastly, we want to create a function we can access outside this data package. We need this in order to generate this random fruit data inside out PDF table that lives in our main.go file.
| |
Just some notes about the code, above:
FruitList()is a public function that we can access from outside thedatapackage, which is why it starts with a capital letter.- As we saw earlier, our
TableListcomponent needs the data to come in as atwo-dimensional sliceofstring. FruitList()takes in one parameter oflengthso we can dynamically determine how many items of fruit we want to generate.- We then pass this
lengthvalue into a littlefor loopthat calls ourgenerateFruit()function however many timeslengthdetermines. - Then we return a
two-dimensional slice of string.
Hooking up the dynamic content
Back in our main.go file, we can import our data package and replace our contents variable. Let’s use the FruitList() function to generate 20 random fruit.
| |
And now if we run our code, we have a table of 20 randomly-generated fruit.
| |
If we decide to generate many, many more random Fruit, say 100, our PDF automatically adds pages to accommodate this.
Going further
If you’d like to extend this project further, you can consider doing the following
- try replacing the mock data with actual data from an API
- use the
RegisterFooter()method to add a footer to every page of thePDFdocument - add a signature, barcode, page numbers and a QR code
This repository includes an extended version of this tutorial code in the examples folder. You can also look at the Maroto package Github page for even more examples.
Conclusion
In this tutorial we learnt how to generate some dummy data that we saved in a PDF file. We used the maroto and gofakeit packages to help us achieve this. You can find the finished code in the Github repository.
Congratulations, you did great! Keep learning and keep coding. Bye for now, <3