

This is part of a series of articles. Read the other parts here:
- Build a REST API from scratch with Go, Docker & Postgres
- Build a fullstack app with Go Fiber, Docker, and Postgres
- Create a CRUD app with Go Fiber, docker, and Postgres
Introduction
CRUD refers to the four basic operations an app should be able to perform. The acronym represents the Create, Read, Update, and Delete functions.
In the first and second parts of this tutorial series, we learnt how to Create and Read from a database. In this third instalment, we will learn how to Update and Delete data from a database.
Prerequisites
To follow along, you will need to have Docker installed and running.
You will also need the source code from the second part of the tutorial series. If you did not happen to follow that tutorial, you can download the finished code and use it as your starting point.
Revisiting fact creation
Before we start adding new functionality, let’s first improve some existing code.
In the previous tutorial, we had set up a confirmation page which we redirected to after we successfully created a new Fact. We did this to get some practice creating new handlers, now we can update this behaviour so that we are redirecting to the index page, instead.
In the handlers/facts.go file, let’s update the CreateFact handler. If we get errors when trying to parse the body of the request, we will render the new template. And if we get an error when trying to save the Fact to the database, we will also just render the new template. But if can successfully save the new Fact, then we will redirect to the index page to see our newly created Fact being listed:
| |
Now that our CreateFact handler is no longer using the ConfirmationView handler, we can delete it.
Read
In the first part of this tutorial series, we already learnt how to read all our Facts from the database. Then in the second part, we built a UI to display them all. To get more practice with reading from the database, we will now learn how to Show a single fact on a page of its own.
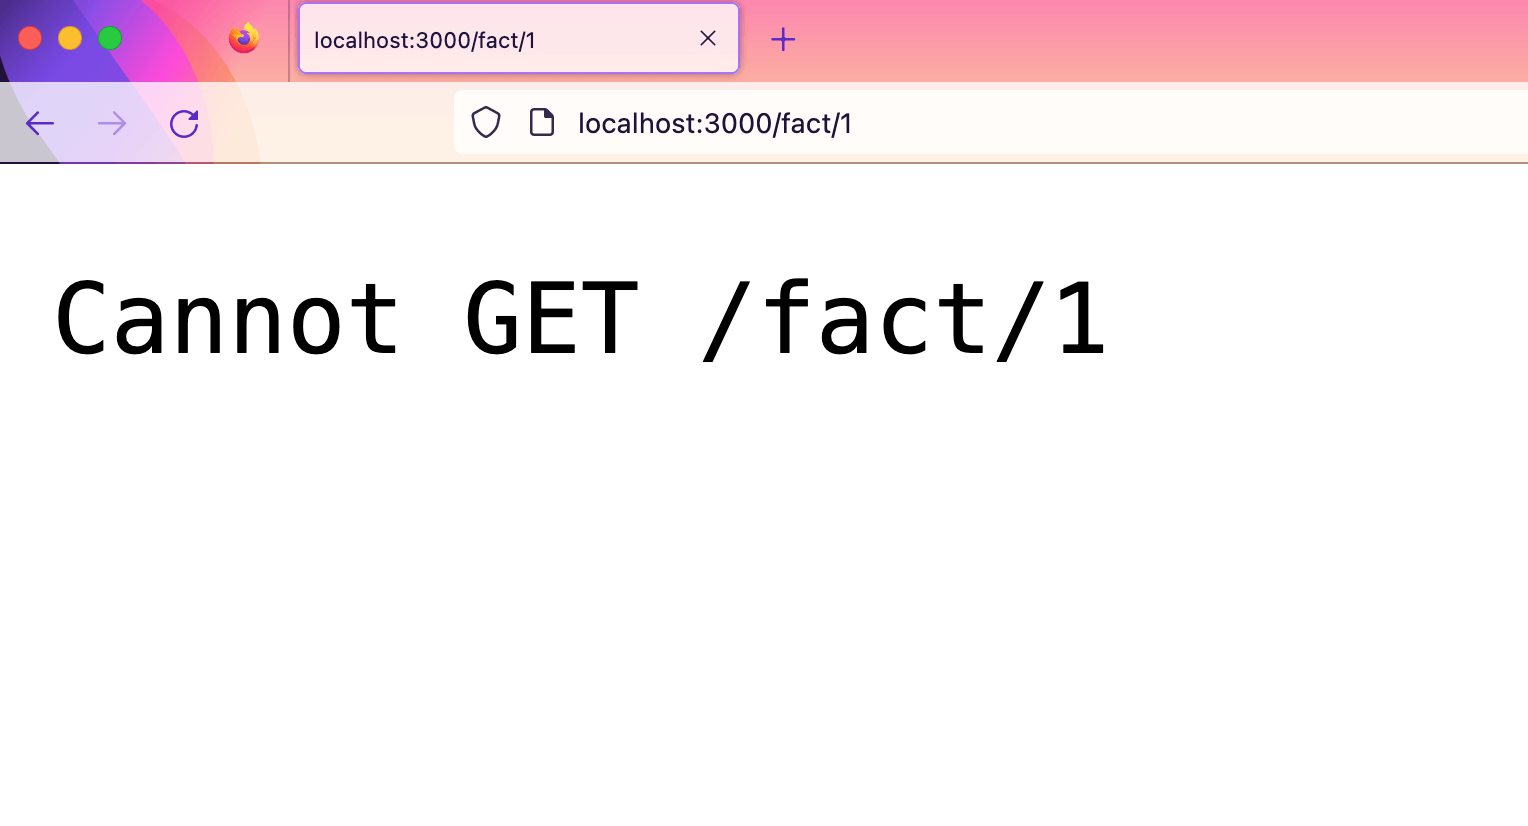
In our browser window, we can navigate to localhost:3000/fact/1 because this will be the url format we will use to show a fact, given its id. Since we newly created a fact, we expect its id to be 1. However, this currently results in an error because we have nothing set up to support a show action.
Route
Let’s head into the routes file to add a new show route so that our app recognises this new url format. Within the body of the setupRoutes() method, we can add a new route to show a single Fact. This route will use the GET action. It will also have a :id path parameter.
| |
We are referencing the ShowFact handler that does not exist yet. We can create that next.
Handler
Within the handlers package, we will create the ShowFact handler that will retrieve and render a single fact.
As with all handlers in Go Fiber, we pass in the context and return an error. Then within the body of the ShowFact handler, we create a new variable called fact to store a Fact model instance to hold the fact we will retrieve.
To be able to retrieve the Fact from the database, we will need to know its id. We can use the c.Params() method to pull this information from the URL.
A typical URL will look something like this:
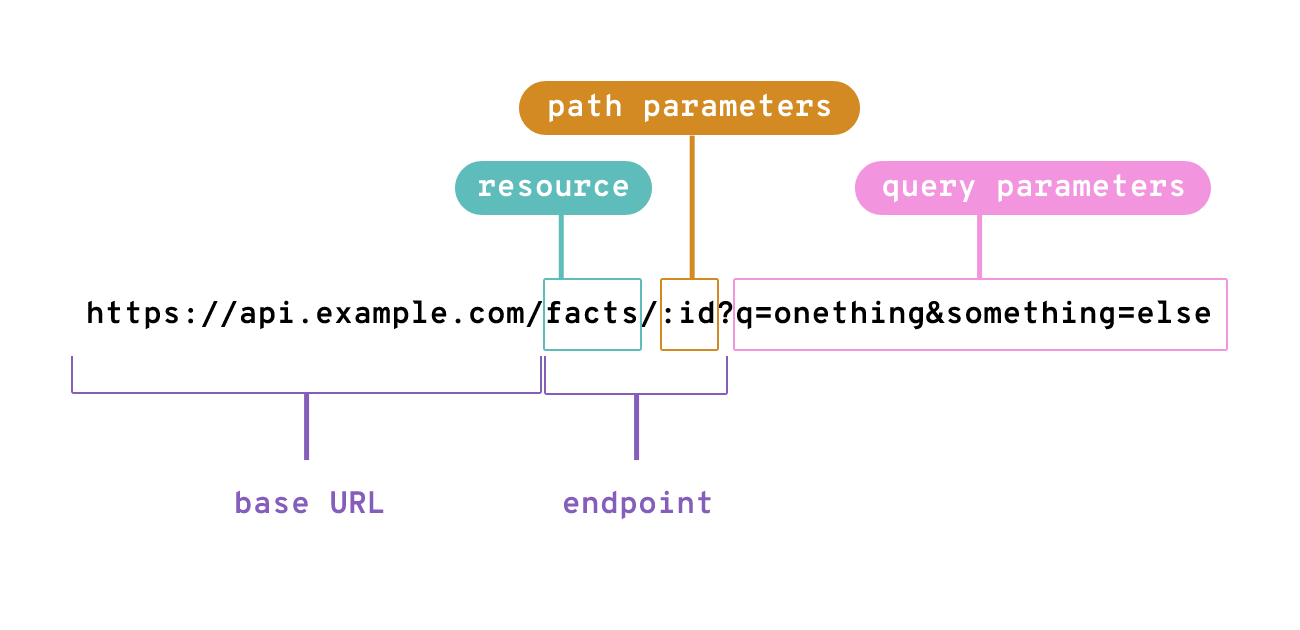
We use Go Fiber’s c.Params() method when we’re specifically trying to get values from the path parameters. So c.Params("id") would get us the id value from the above example URL.
Once we have the id value, we can use it to query the database and get the First record where the id matches.
Then we can use the c.Render() method to render a frontend view.
| |
Let’s use the frontend views we already have to add a new Fact. If we try to view this newly-created Fact in our browser, we get the following error:
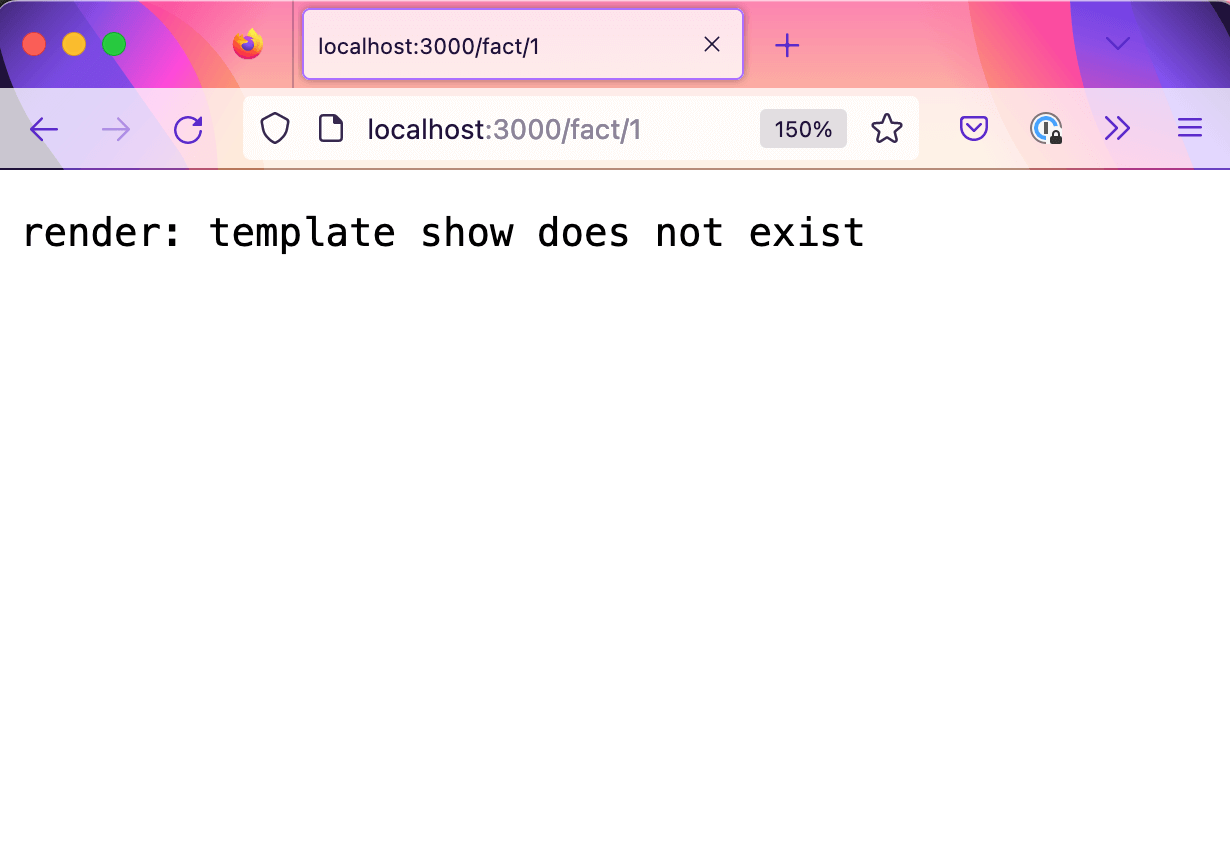
We can fix this by creating a new template called show:
| |
Then within this view/show.html file, we can add some markup. The classes used in this markup correspond with styles that have been pre-prepared in the CSS. We will not go into depth about them, as CSS is out of scope for this tutorial.
| |
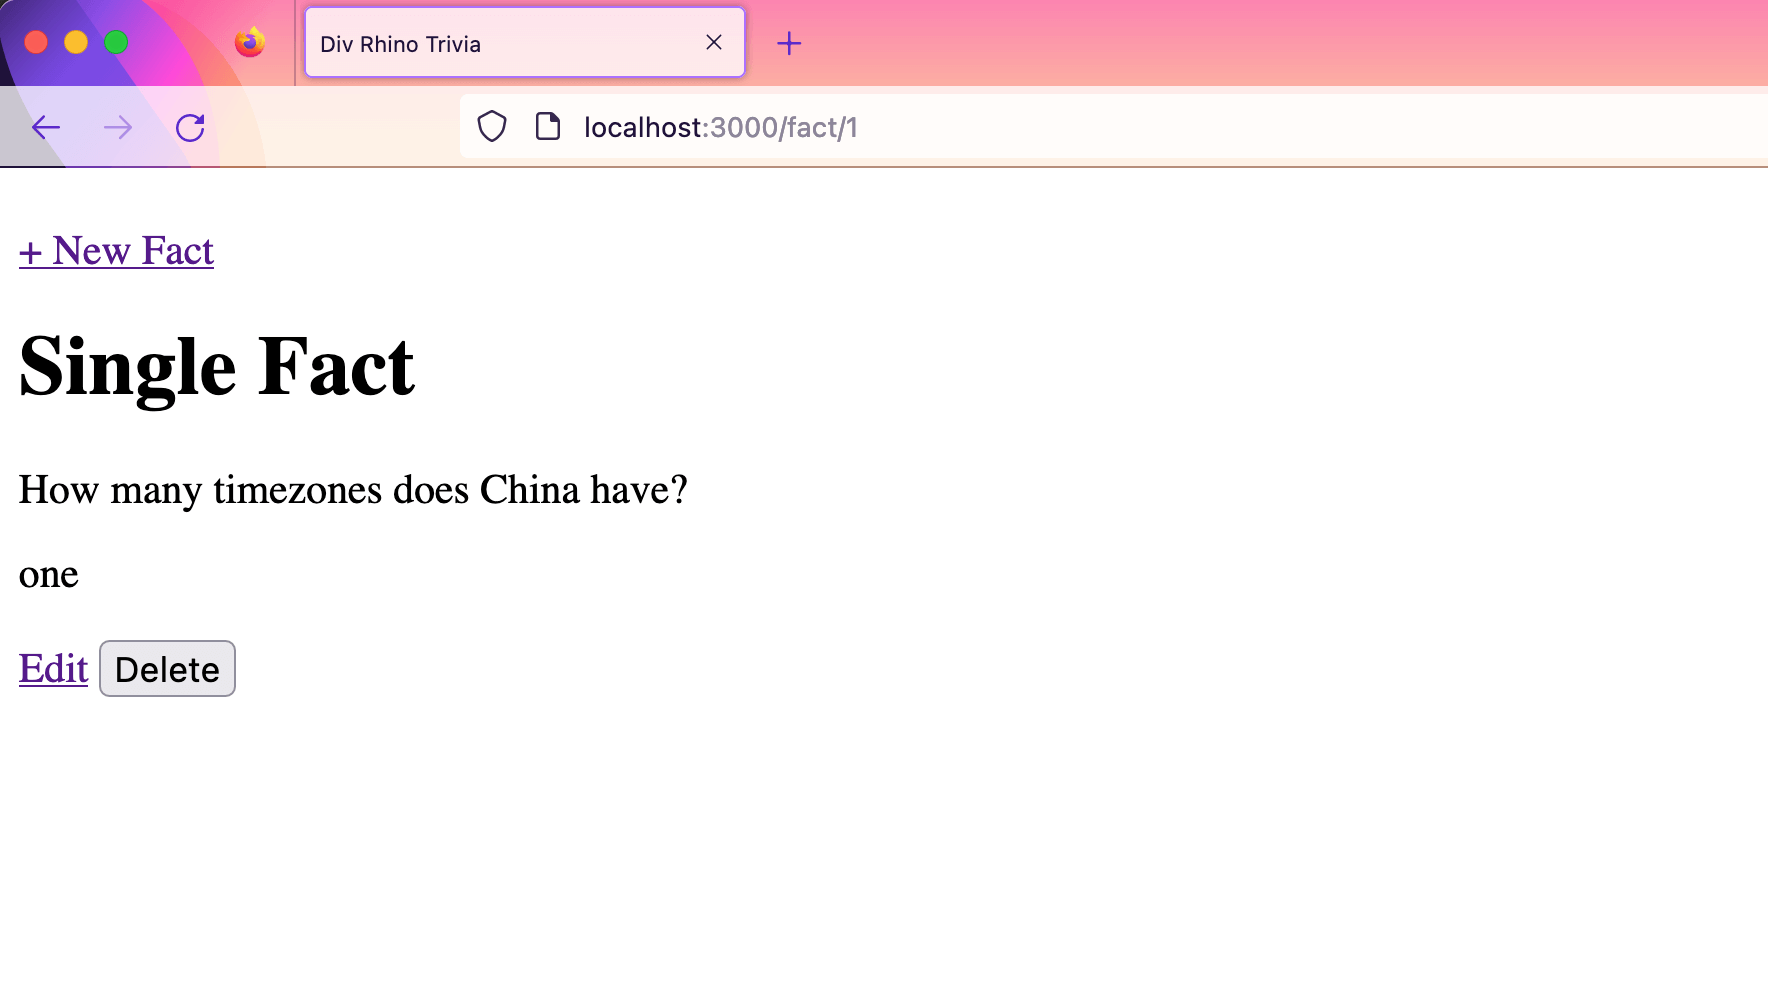
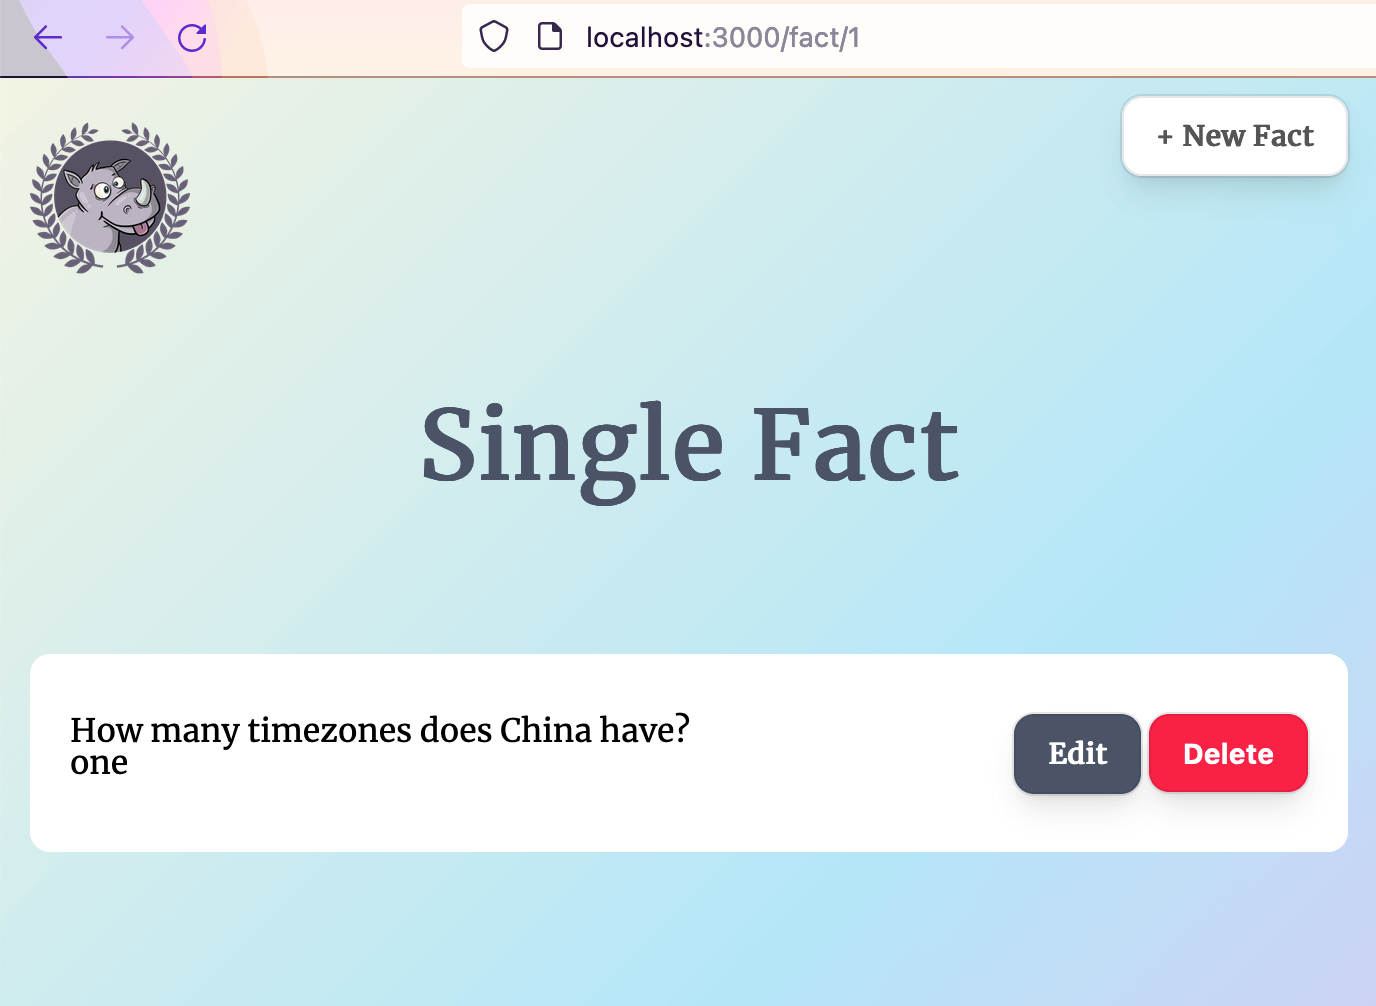
We use an {{if}} block to check for the presence of a Fact and conditionally display content. If a Fact exists, we will render it along with an Edit link and a Delete button. If we head into the browser now, we should be able to see our single Fact being displayed by the show template.
However, you may notice that none of our CSS styles are being applied to this page. We can quickly fix this by heading into our view/layouts/main.html file and update the link to our stylesheet so that is has a preceding / in the path. So it should look like this:
| |
And if your logo image is also missing, we can fix this by heading into the views/partials/header.html file and update the link to our image so that is has a preceding / in the path. So it will look like this:
| |
Now when we refresh the browser, we should see our styled show page
404 page
So far things are looking promising, but what happens if we try to request a fact that does not exist? We can find out by changing the id in our path parameter to 99.
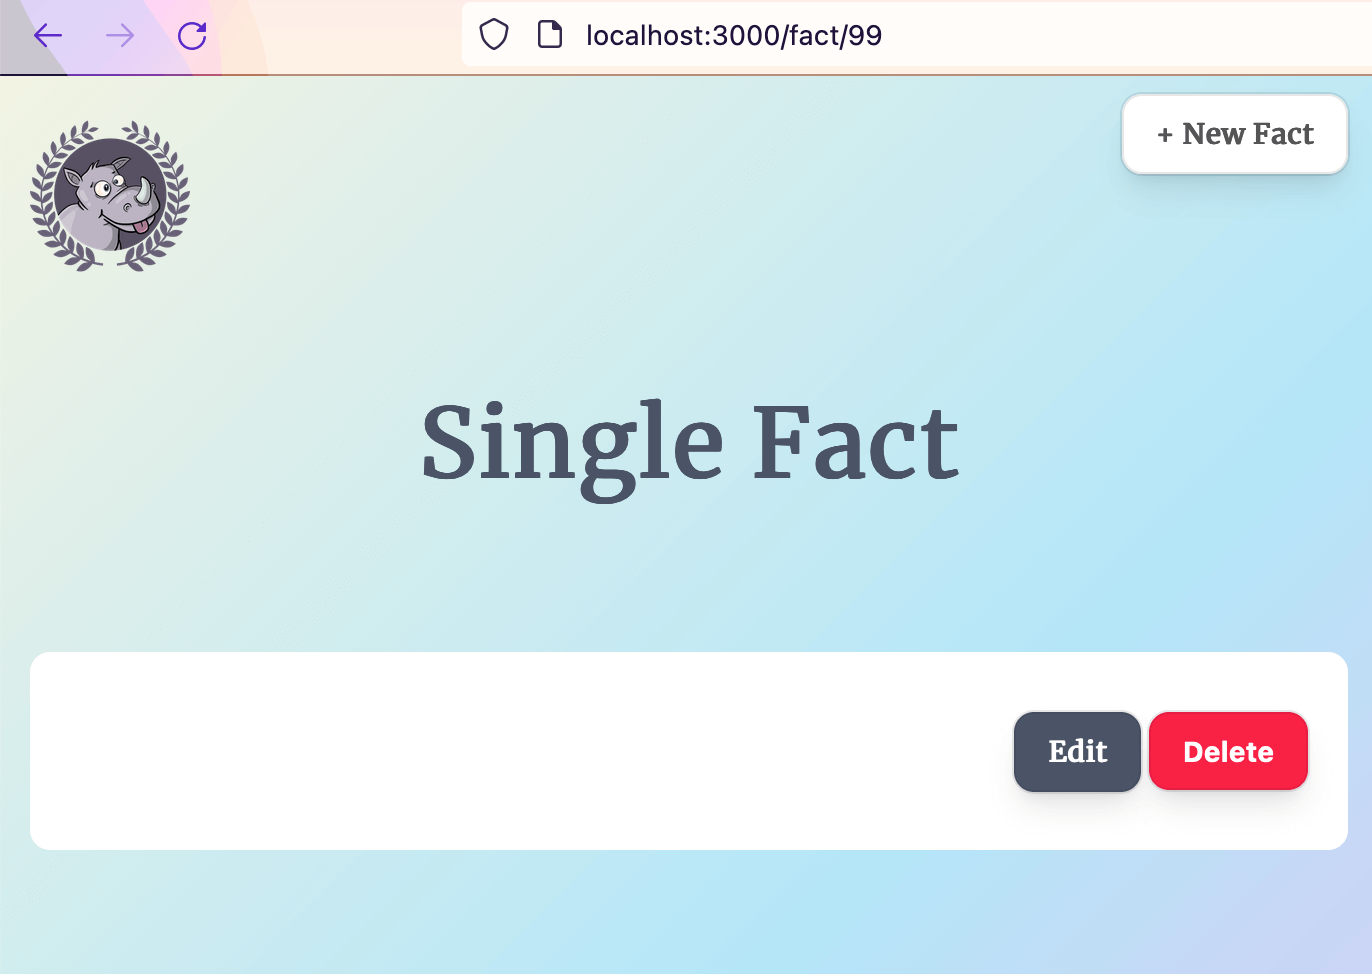
We’re getting an empty result but our show template is still rendering. This behaviour would be confusing to a user because they have no way of knowing what is going on. We can improve the experience by introducing a 404 page. If a fact does not exist, we should render this 404 page instead.
In the cmd/routes.go file, we update the ShowFact handler to return a NotFound when we are unable to retrieve the record. This NotFound handler does not exist yet, so we will need to create it.
| |
Then we can go and update our app config in cmd/main.go to also use the NotFound handler. Remember to place this after the other setup, but right before the call to app.Listen
| |
If we try to test this in the browser now, we will get a blank page. We need to create a 404.html file in our public folder:
| |
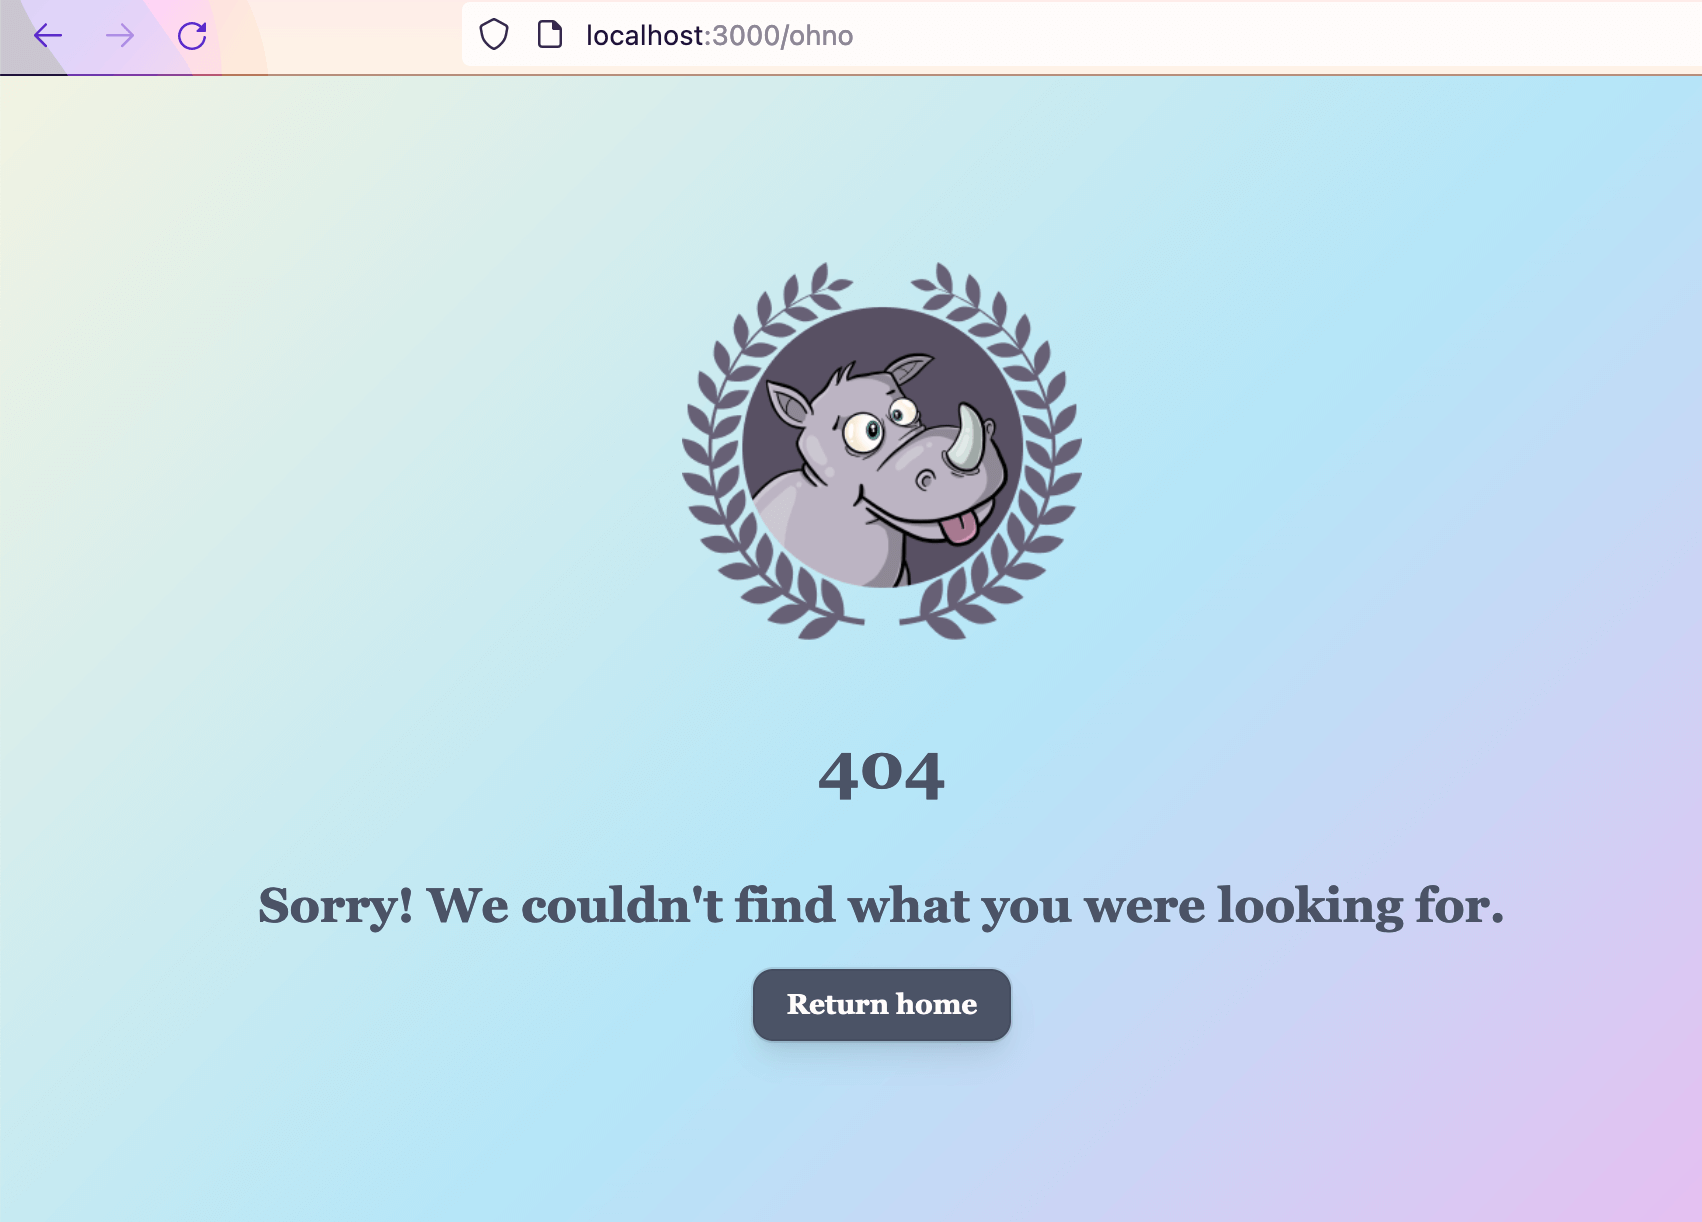
Then inside the public/404.html file, we can paste some ready-made content from the project repository.
Now when we try to navigate to a route that does not exist, we see our new 404 page:
Our show page is done! Let’s keep going.
Update
The next CRUD action we will tackle is the Update operation. Again let’s start in our cmd/routes.go file.
In our cmd/routes.go file, we need to add 2 new routes. We need a GET route that will take us to the edit form and another PATCH route that will actually update the record we are editing. GET and PATCH are HTTP verbs (methods) and aren’t specific to Go Fiber.
| |
Neither of these handlers exist yet, so we can head into our handlers package to create them.
Within the body of the EditFact handler, we create a new variable called fact to store the Fact we will be editing. Then we use the c.Params("id") method call to get the id value from the URL.
We query the database and retrieve the first record where the id matches. If we can’t find it, we render the NotFound handler. Otherwise, we will Render the view template and send the fact variable through to the frontend.
You may notice that this handler is very similar to the ShowFact handler, the main difference being we’re rendering different frontend views for each. If you’re feeling adventurous, you could consider DRYing out the code that is common between the two handlers.
| |
The next handler we’ll need to create is the UpdateFact handler which will persist the changes to the database. If we run into an error during the parsing step, we will send back a Service Unavailable status. If we get an error when trying to write these changes to the database, we will redirect to the edit template
| |
Now we need a frontend view so users can edit facts in the browser.
| |
Inside the edit.html file, we will create a simple form with the id attribute of form-update-fact. We will also store the current fact’s id column value inside a data attribute called data-factid. These id values might be confusing, but just be mindful that the first id is an HTML attribute that can be targeted by JavaScript and the fact’s id refers to the database column.
Then within the form body, we will add an input field for question, an input field for answer, and a submit button.
| |
We will also head into the show.html page and update the edit link so that its href value is pointing to our new edit route. We use {{ .Fact.ID }} to populate the id of the current fact we want to edit.
| |
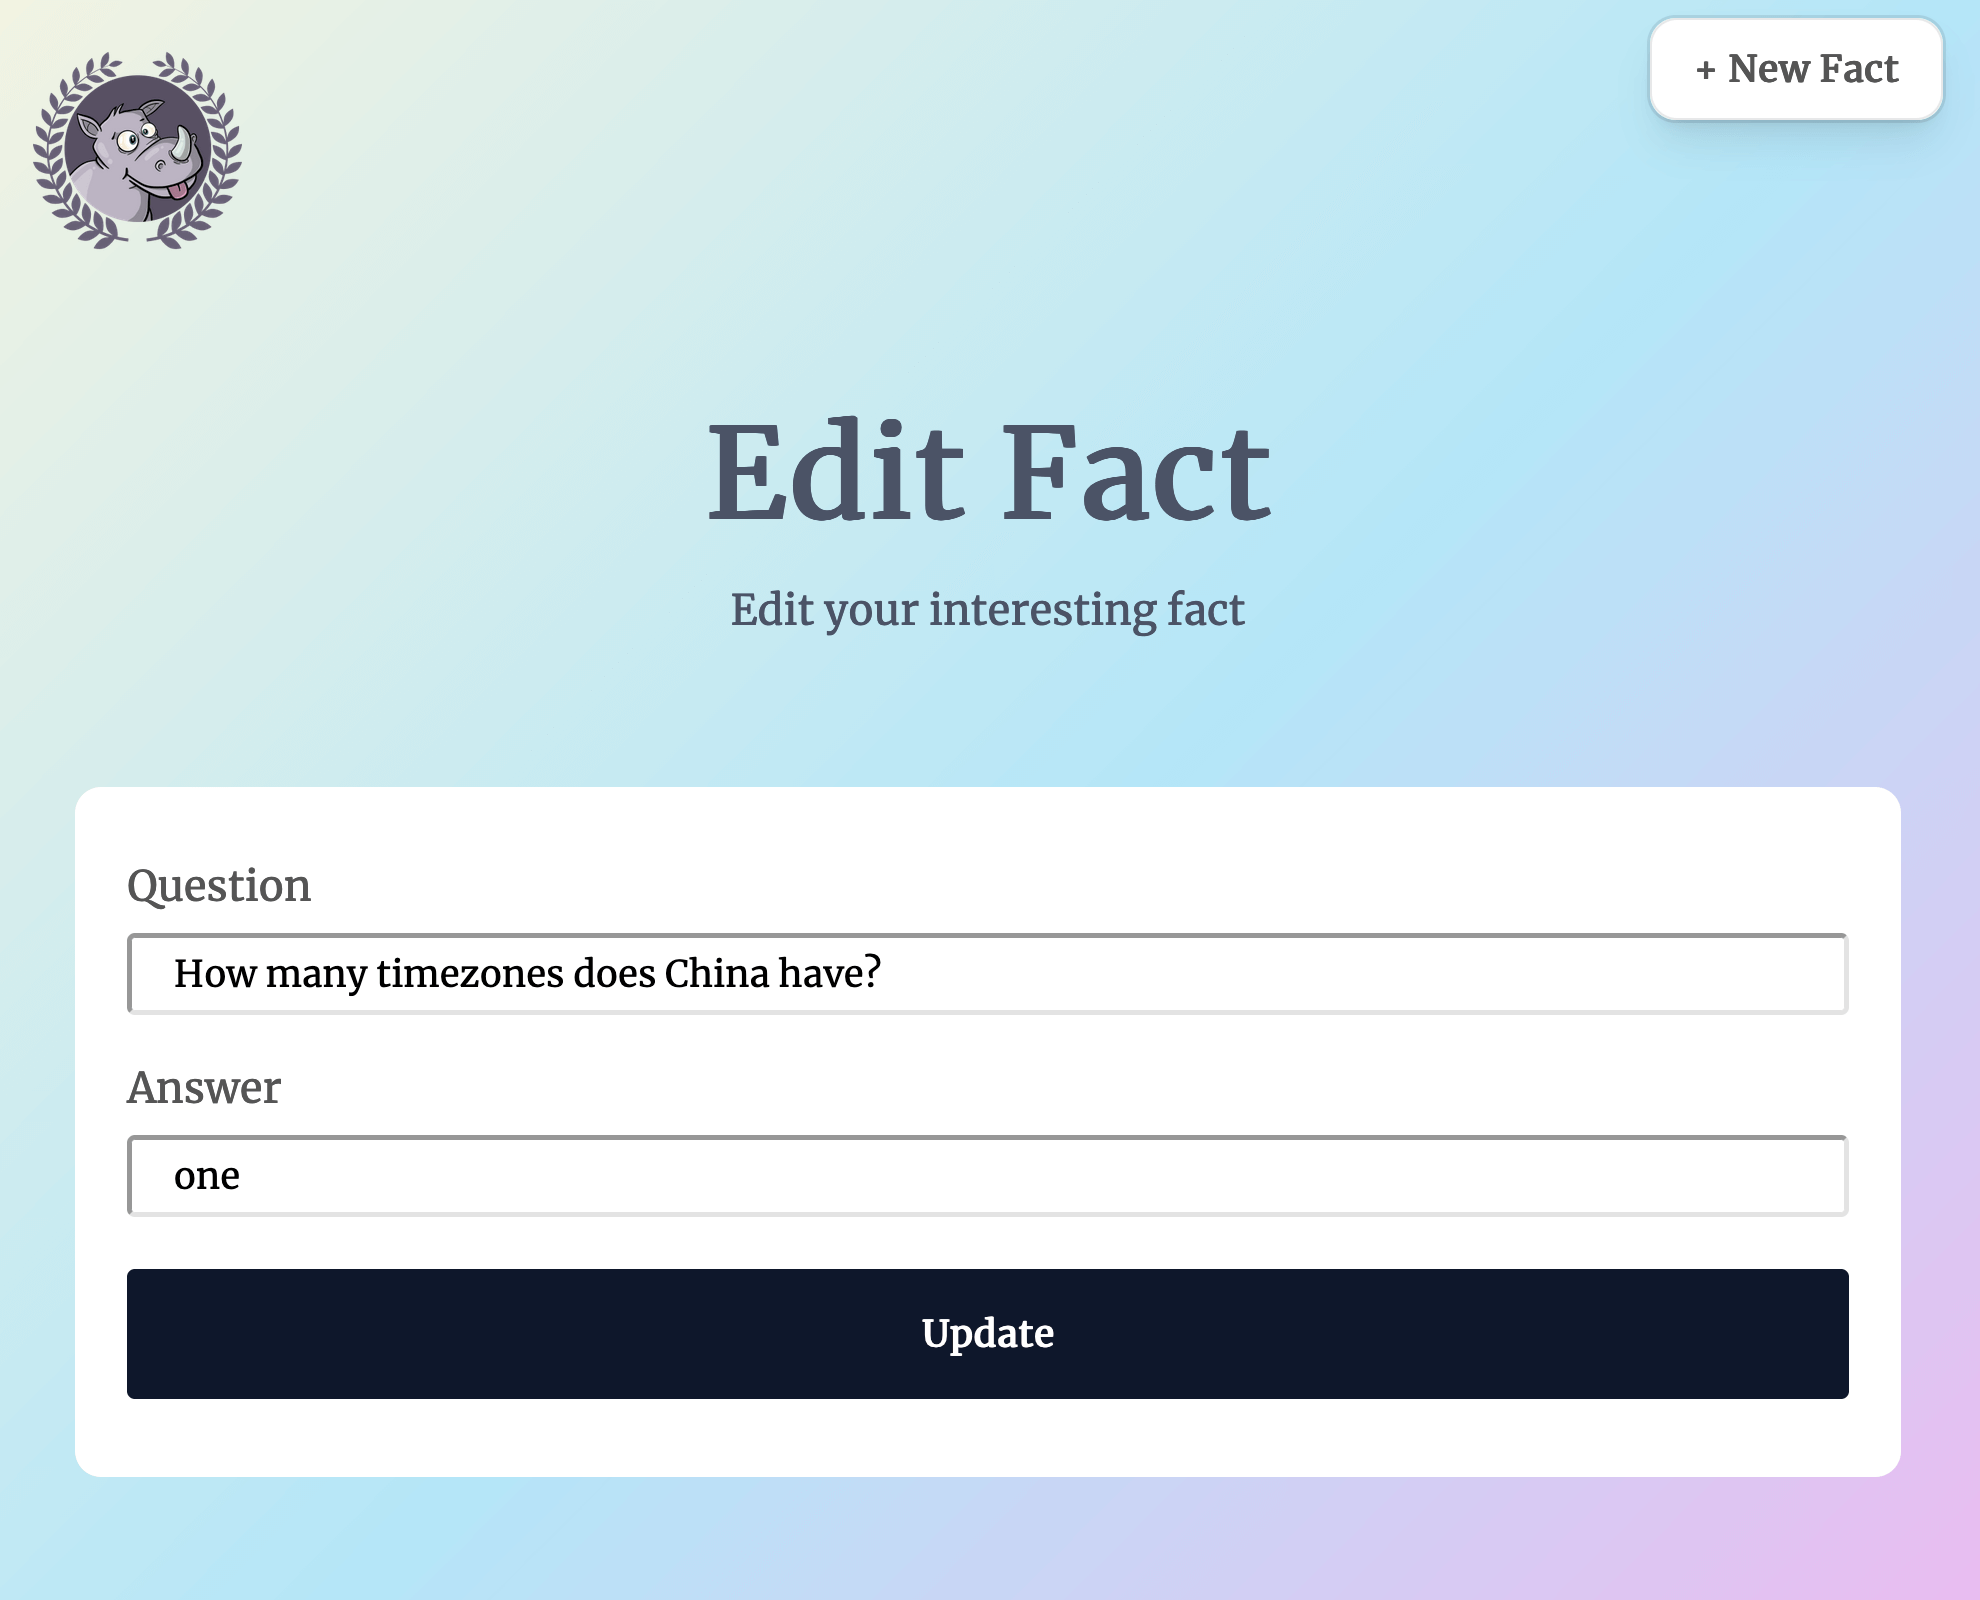
If we take a look at your Fact in the browser, it should be able to click on the Edit button. This will take you to the edit form

Currently, our form fields are empty. This isn’t ideal, because we should be able to see the values we want to change. We can remedy this by adding a value attribute to each of the fields. So the markup for our form should now look like this:
| |
If we refresh our browser, the fields of our edit form should now have values
But if we try to submit the form now, it does not work as expected. Why is this?
The HTML form element only supports the GET and POST methods, and the default method for a form is GET. However, our update route is using the PATCH method to update our facts. We will need a way to send a PATCH request from our edit form. We can achieve this with a little bit of JavaScript.
Send PATCH request with JavaScript
In the previous part of this tutorial series, we added some JavaScript to our views/index.html page because this was the only place in our app that was using JavaScript. Now, we’ve reached a point where we need JavaScript on other pages too, so we will need to import our script in a place that is accessible throughout the app. Let’s move our script tag from views/index.html into our main layout. So our views/layout/main.html file should now look like this:
| |
By default, all our static assets are cached so that the app is faster. This makes sense when our app is in production, because we do not want to keep fetching styles and scripts that have not changed. However, this can be annoying in development, because we need to make frequent changes to our CSS and JS while we’re building things.
We can work around the caching by appending a timestamp to the end of the asset urls. This hack should only be used, locally, though. We do not want to have this behaviour in production.
First, we can add an id attribute to our <link> and <script> tags so we can target them with JavaScript. Then we can add a little snippet that will append a timestamp to the end of each path. Notice that we also removed the ?v=1 query param from the end of the stylesheet path.
| |
We have now set up everything we need for the PATCH request. Inside the public/javascript/app.js file, we can paste in a snippet. This snippet uses the JavaScript fetch API to make a PATCH request to edit the current fact. JavaScript is outside the scope of this tutorial, so we will not step through every line of this snippet, but this is what is should look like:
| |
Now we can try this out in the browser. If we visit http://localhost:3000/fact/1/edit and change the values, we can submit the edit form to update the current Fact.
Delete
The last CRUD action we will implement is the delete action. First, we will head into our routes.go file to add a new delete route.
| |
We are passing in a handler called DeleteFact, but it does not exist yet, so let’s head into our handlers package to create it. First we will find the current Fact using the provided id and then we will delete the fact using the Delete() method that GORM gives us. Once we have successfully deleted the fact, we will redirect to the index page
| |
Now that we can delete the app in the API, let’s wire up the delete button that appears on our show page. We will give it an id of delete-button so we can target it with JavaScript. Then we will also add a data-factid attribute so that we can pass the current fact’s id column value to JavaScript
| |
Then in our app.js file, we can add a little snippet that sends a DELETE request. We won’t go over this snippet in too much detail, but this is the basic idea:
- When the
deleteButtonis clicked, we ask the user toconfirmtheir decision to delete - Then we use the
fetchAPI to send aDELETErequest to our endpoint - After the
factis successfully deleted, we redirect to theindexpage
| |
Improving the index page
So far, we have been manually typing in the URL every time we want to see a single Fact. It would be a nicer experience if we could click on the facts from our List without having to remember the IDs for each one.
Back in browser, let’s add a few facts to work with:
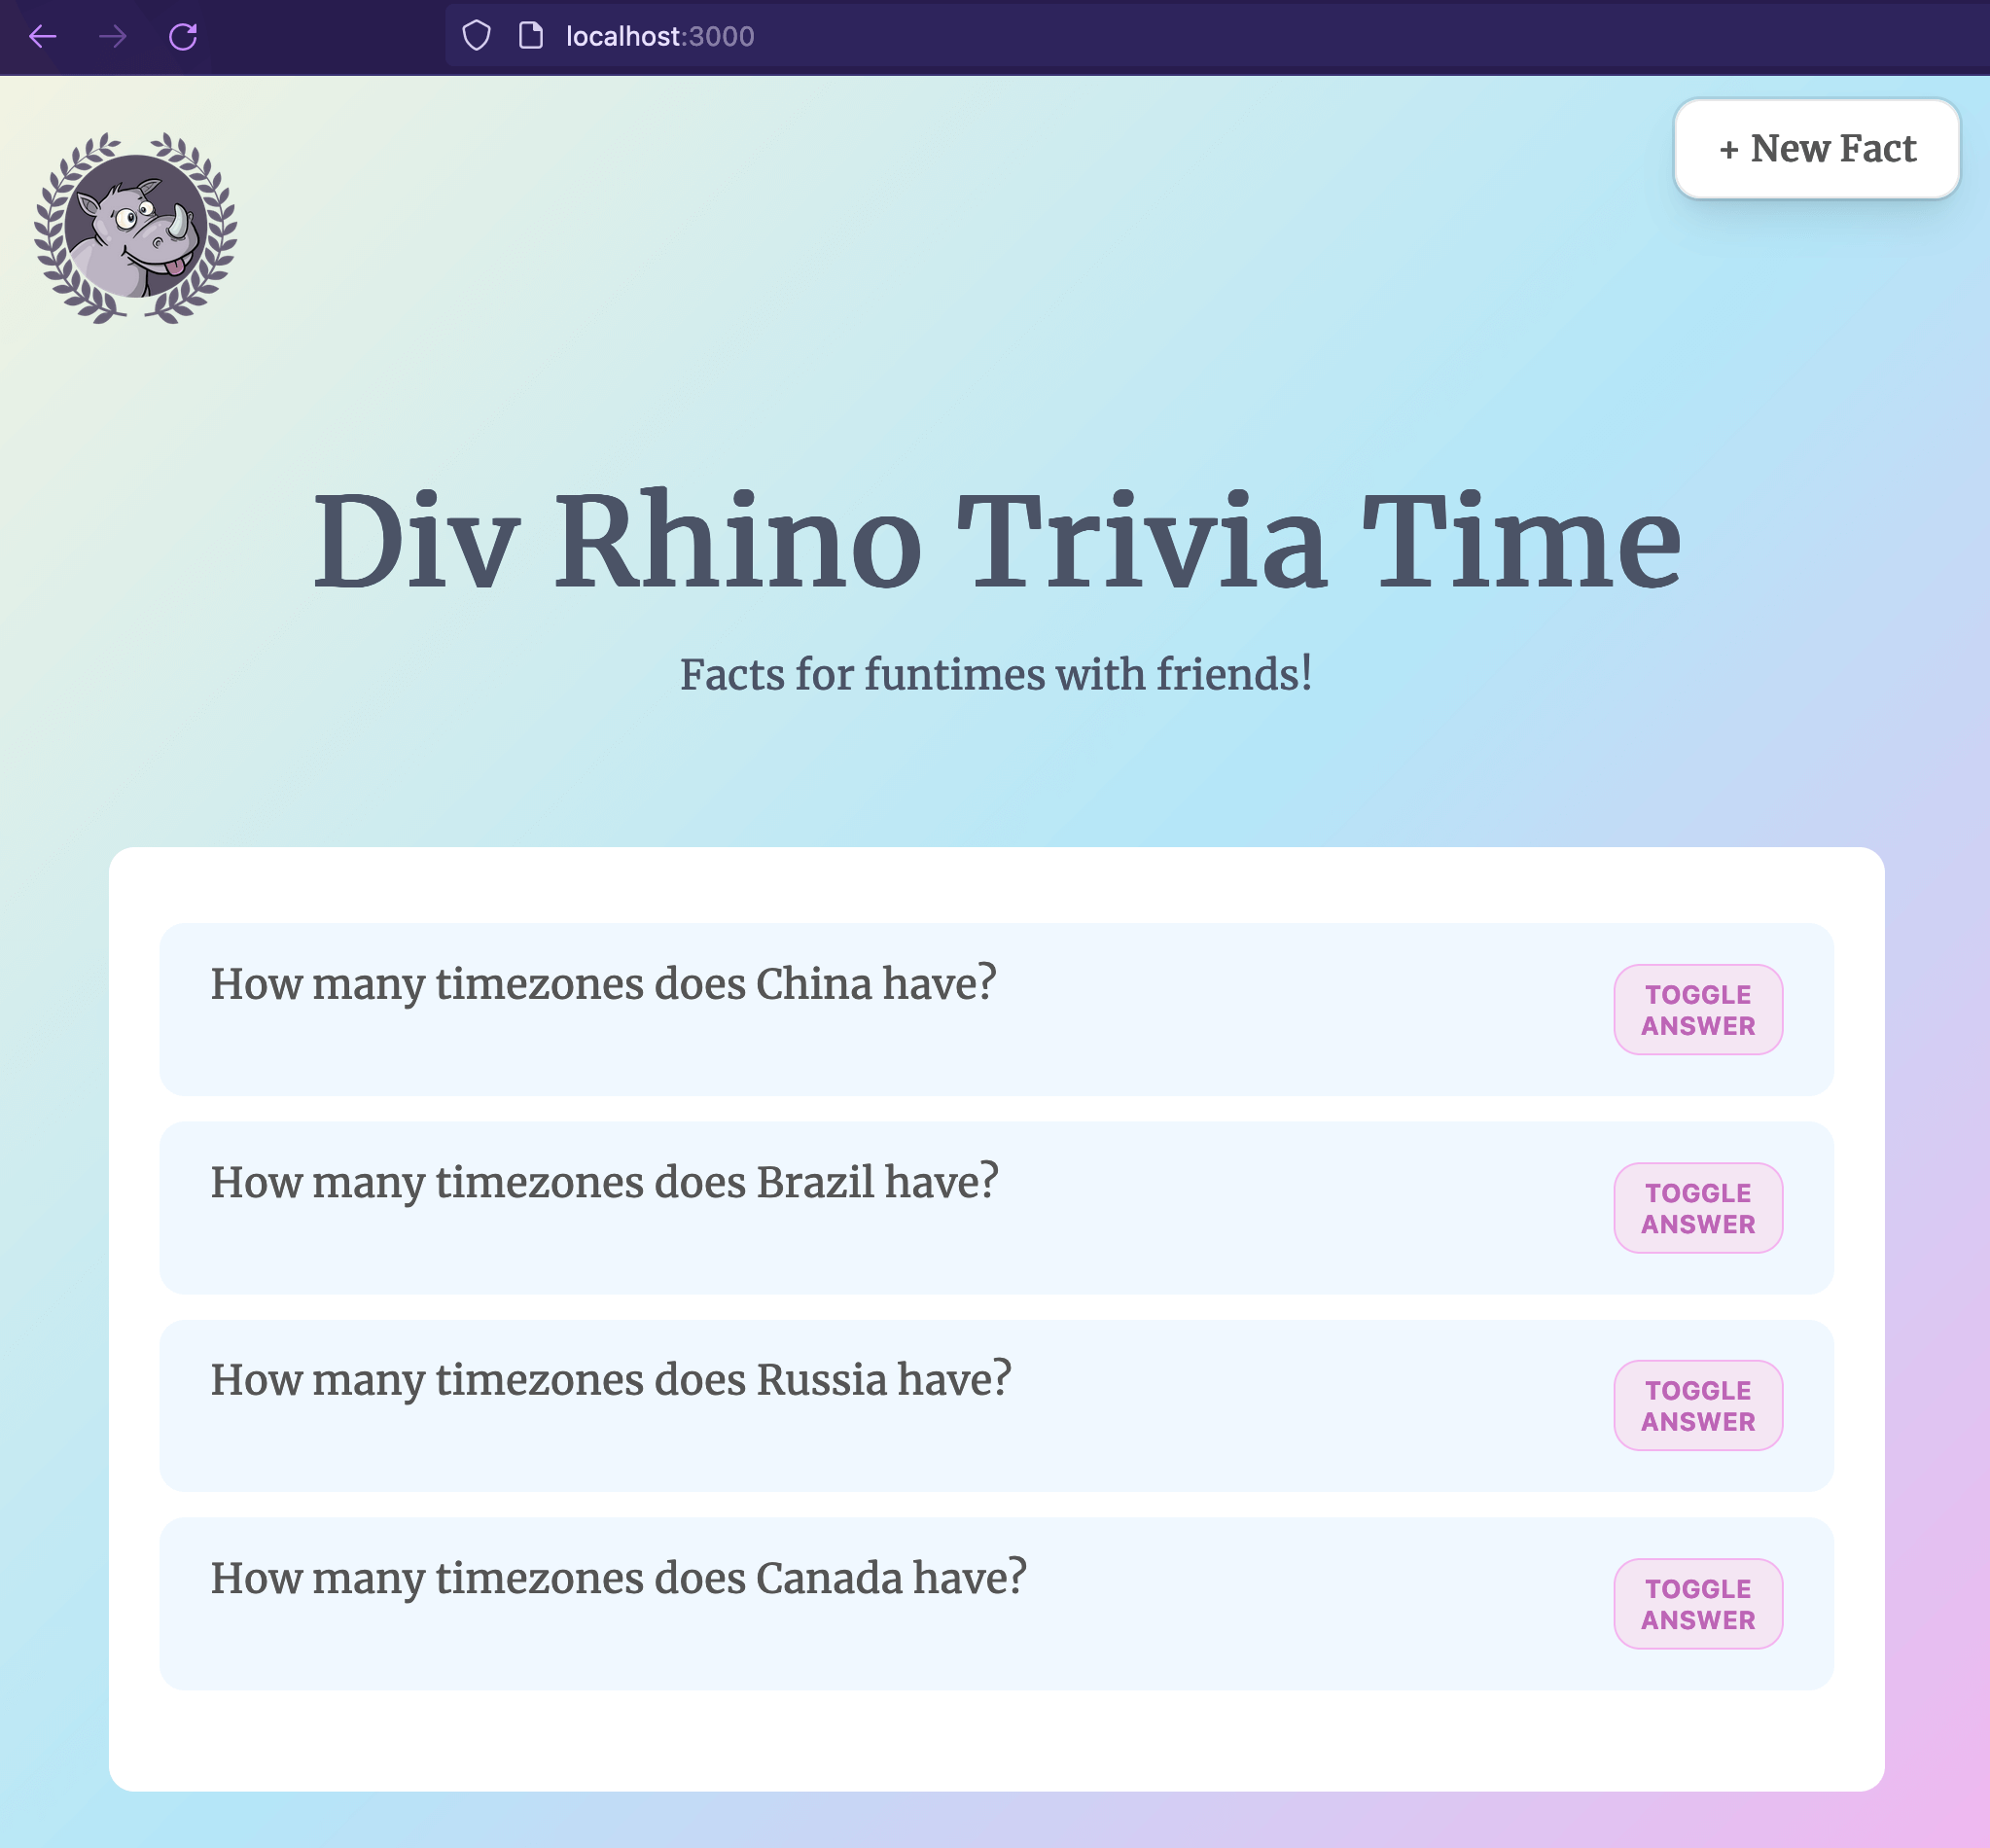
Since we have a show page now, we no longer need the toggle answer button. So we can update our index.html page to remove it. The updated markup looks like this:
| |
We are using a new partial called icon-arrow-right, but it does not exist yet. So let’s create that now.
First let’s create a new folder to hold all our icon partials
| |
Then inside this new folder, let’s create our icon-arrow-right partial
| |
Then within icon-arrow-right.html, we can paste some SVG code:
| |
If we refresh our app in the browser now, this is what it should look like
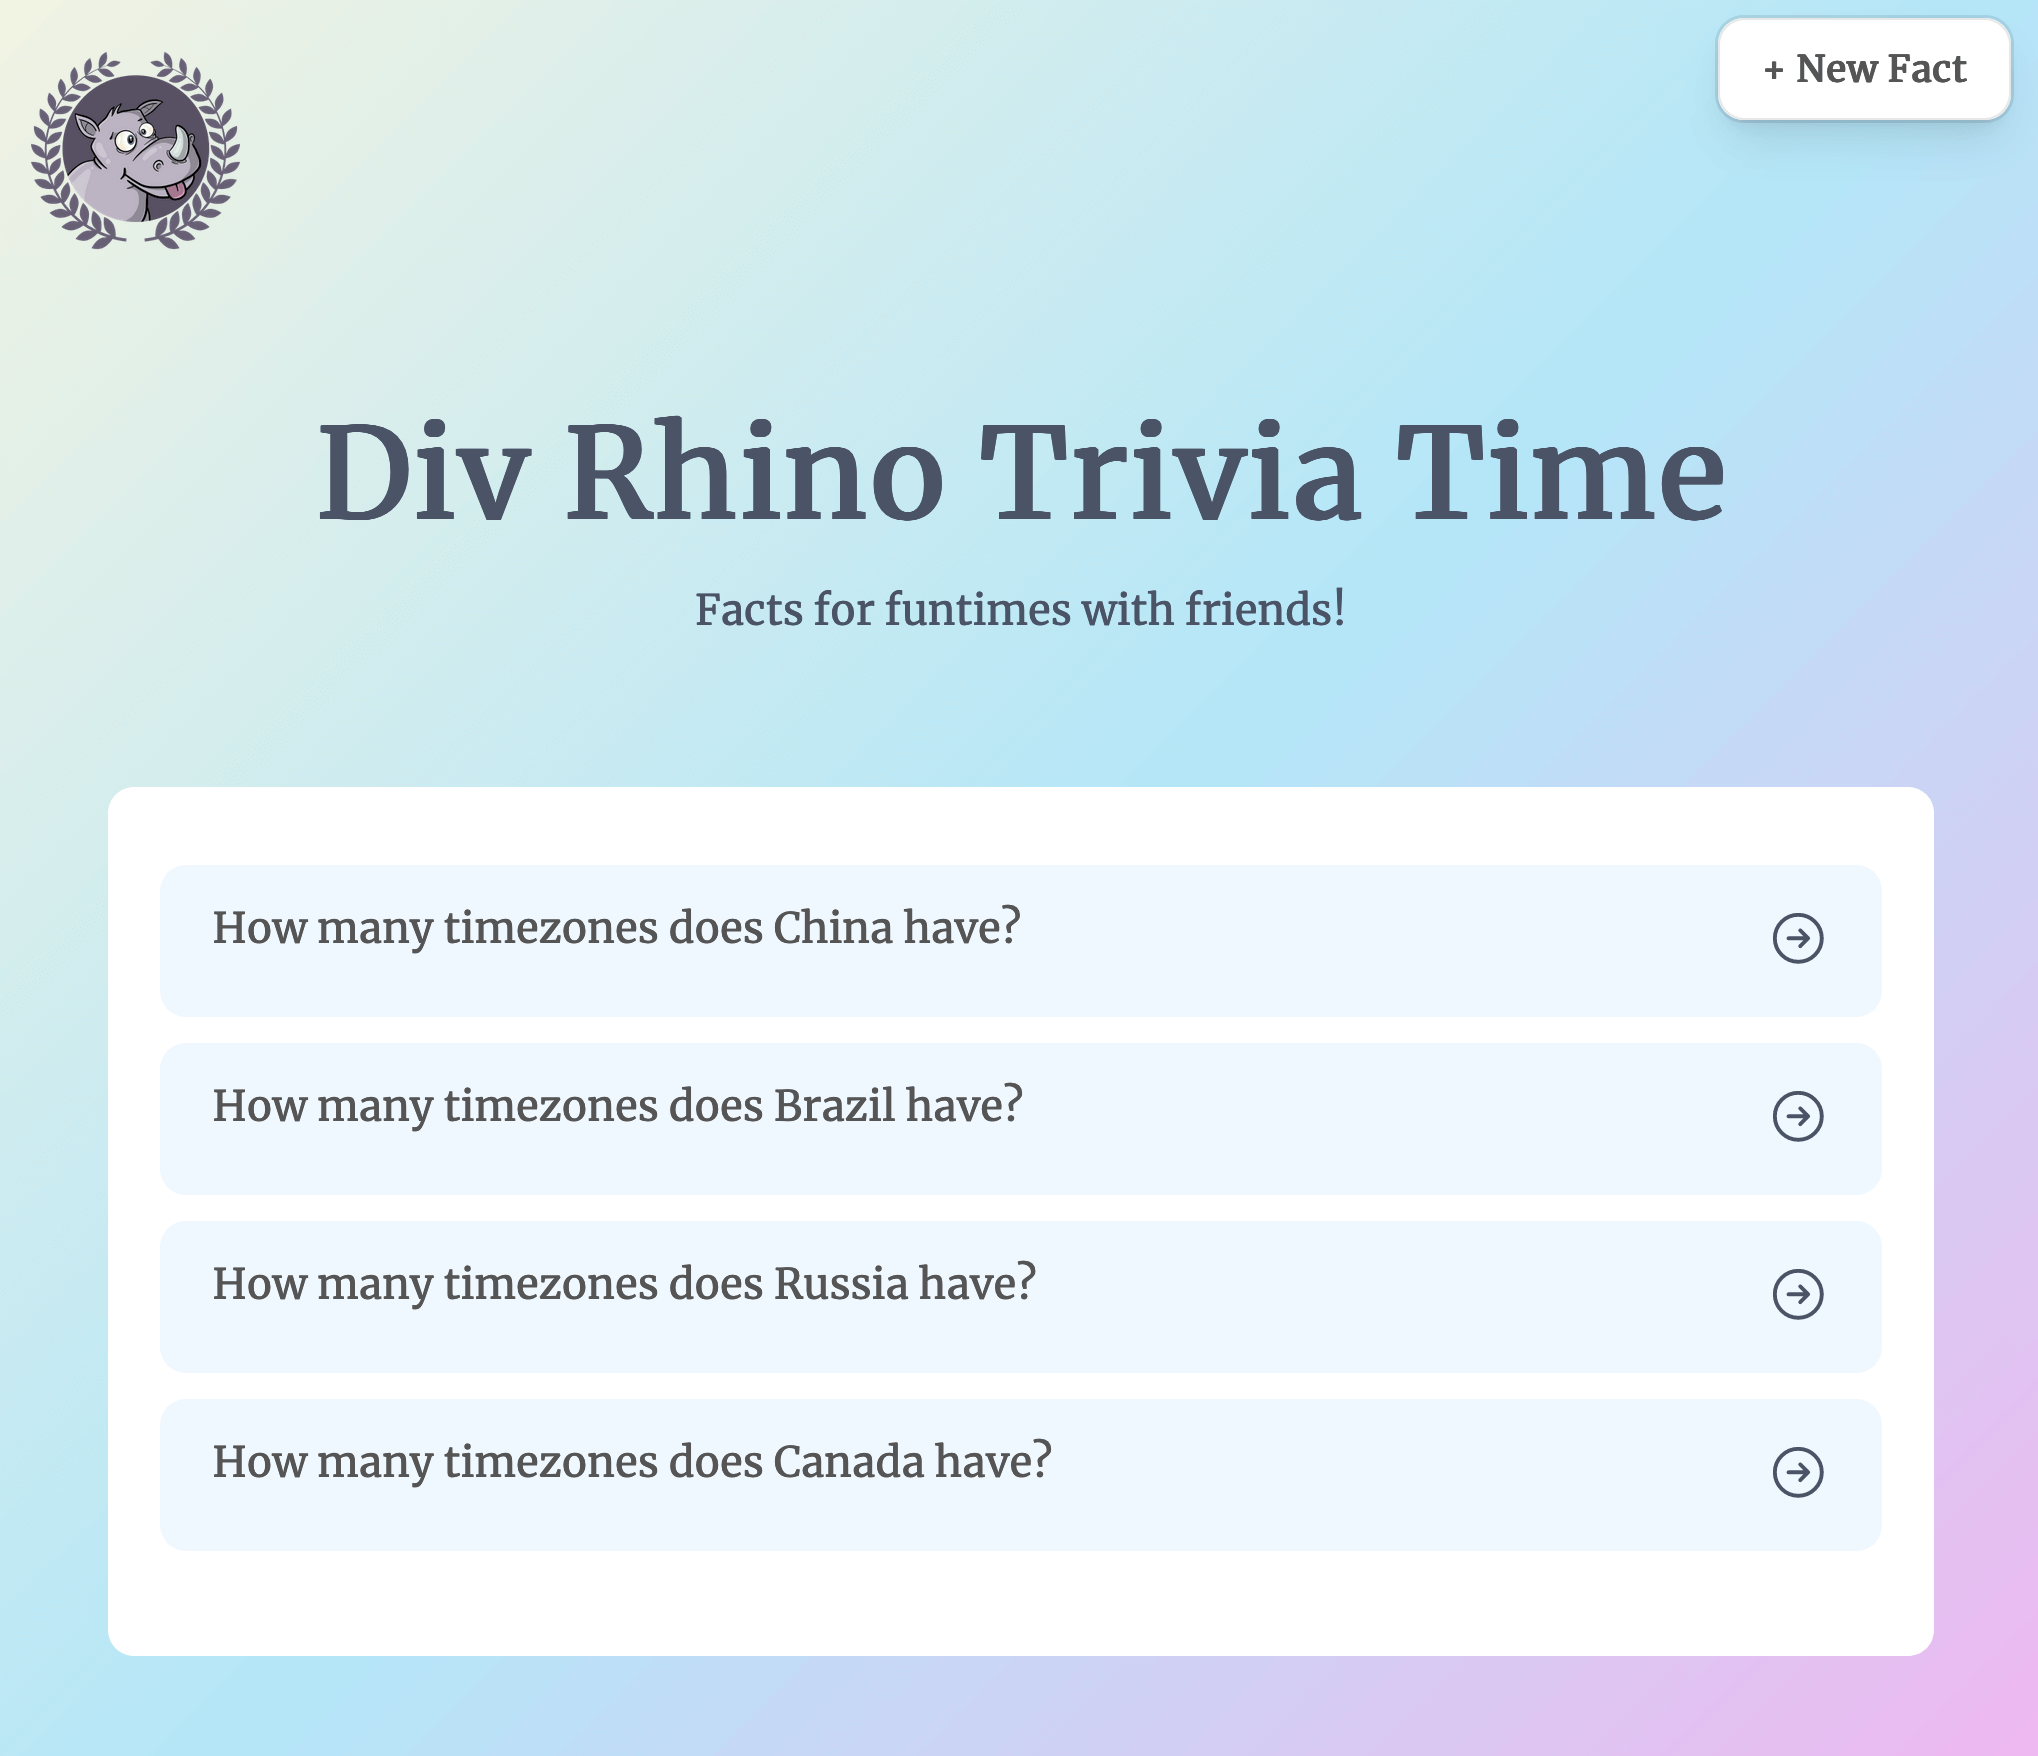
Now we can click on each fact and be taken to its individual show page where we can edit and delete it, easily.
And with that, we’ve come to the end.
Conclusion
In this tutorial we implemented all the CRUD actions - Create, Read, Update and Delete. We used JavaScript’s fetch API to make PATCH and DELETE requests. We also added a little hack to bust our browser’s cache during development.
Congratulations, you did great! Keep learning and keep coding. Bye for now, <3.